RetractaShade Kit Contents
- Stainless Steel wire cut to size with 1 swaged (closed) end, and one open (adjustable) end.
- Stainless Steel Turnbuckle for tensioning the wire.
- RetractaShade pre-assembled retractable shade sail kit.
Note: We re-use hard packaging material in an effort to save waste. Please recycle/re-use packaging if possible, by doing so you’re helping us reduce waste and support a more sustainable approach to manufacturing and delivery.
Installation Overview
- Measure up
- Install anchor point hardware
- Tension the wire with supplied turnbuckle
- Take the RetractaShade retractable shade from the package, undo the rope holding it together, and clip the shade onto the wire from the back to front
- Grease the wire with a recommended lubricant (not included in kit – Silicone Lubricant, PTFE Spray, Marine Grade Grease or White Lithium Grease)
Preparing for your RetractaShade
To ensure your RetractaShade is tailored perfectly to your space, we’ll need a few key details from you:
- Accurate Measurements: Please provide the length and width of your desired RetractaShade. Please ensure a minimum 30mm clearance from any wall or edge beam.
- Wire Point Heights: Let us know the height of your wire mounting points. We can control the ‘drop’ of the fabric while in the ‘retracted’ position, so you don’t have to worry about bumping your head on it!
- Preferred Fabric Colour: Choose from our premium range of UV-stable fabrics. Made in France, Serge Ferrari’s Soltis 96 is considered the best in the market for this type of application. Click here for colour options.
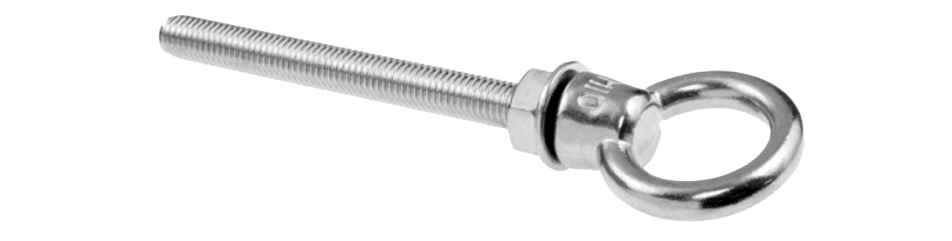
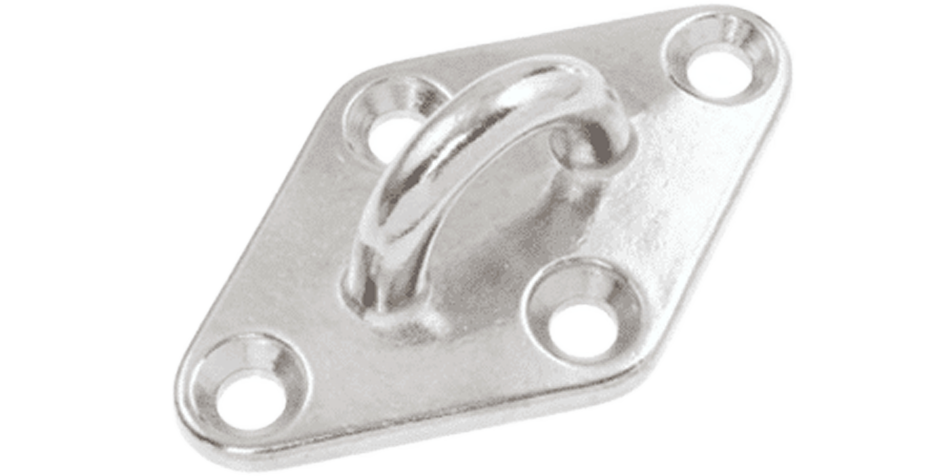
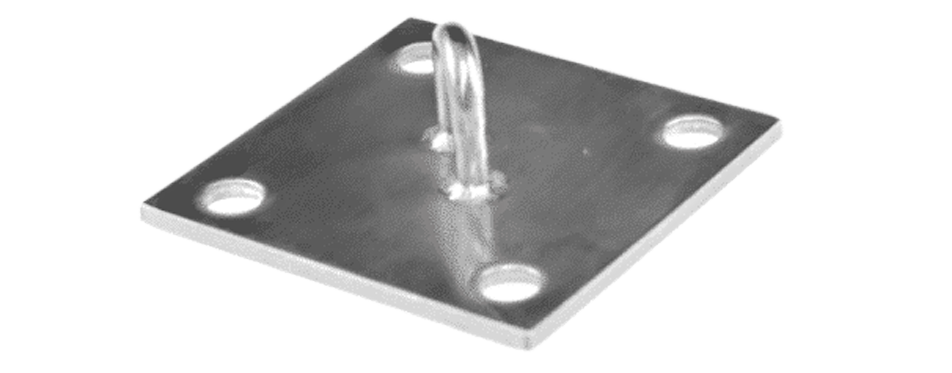
- Choosing Your Wire Mounts: You will need 2 mounting points on each side for any RetractaShade up to 3m wide. If your RetractaShade is between 3.1 – 4m wide, you will need 3 mounting points on each side. We will make an extra line of runners to accomodate the wider span. See our hardware selection for options like stainless steel wall mounts, stainless steel pad eyes and Eye Nut Bolt (With Nut & Washer).
- Maximum sizing:
- The maximum size by area is 24m2 per panel
- The maximum width is 4m
- The maximum length is 8m
Please use our contact form to submit your details and 1 drawing. Once you have submitted your drawing, we will request photos and all final required information to proceed with the production of your custom made RetractaShade.
Hardware
Step by Step Instructions
Step 1
Determining the Width of Your RetractaShade
To determine the width of your RetractaShade, allow for at least 30mm of clearance on each side.
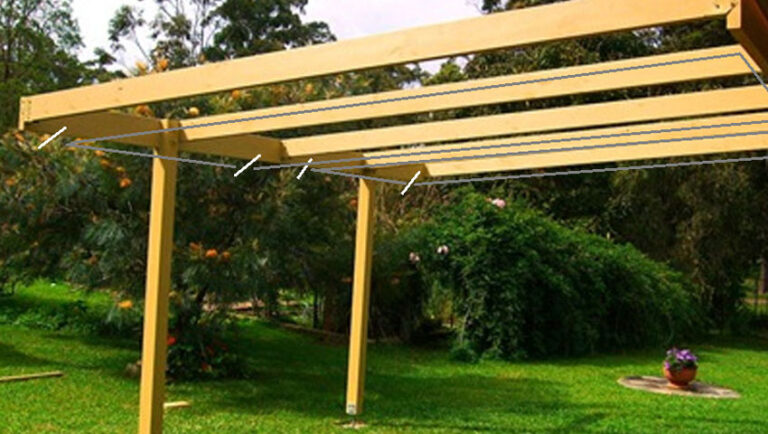
Wire Mounting Points
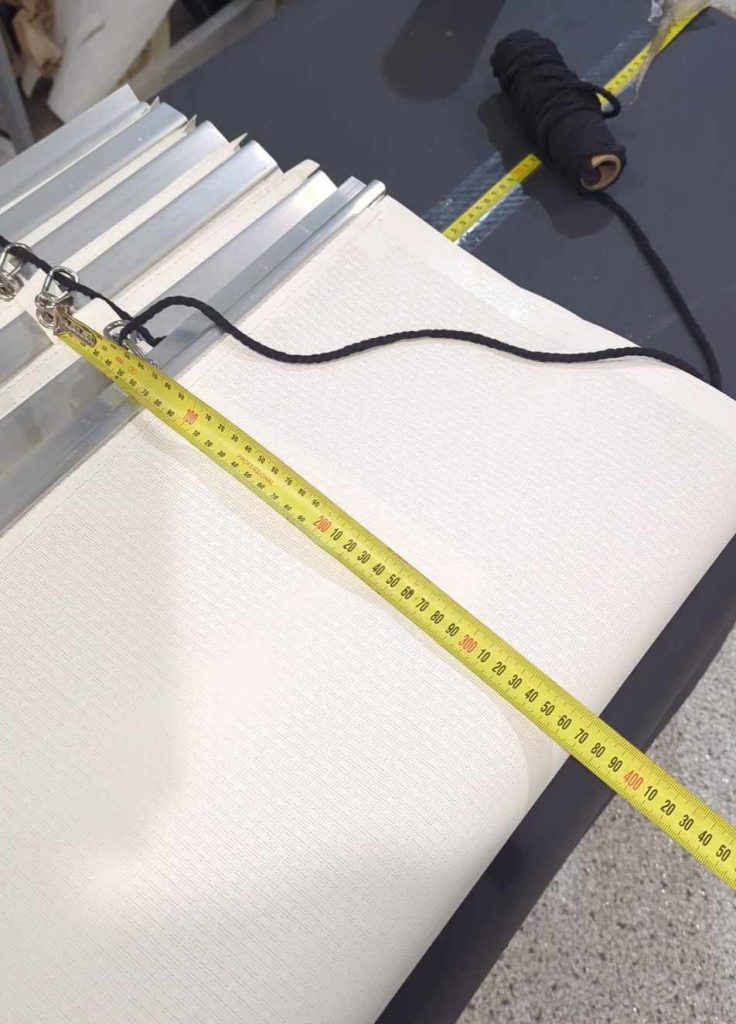
The wire mounting points should be positioned 200mm–400mm from each end of the RetractaShade width.
Example:
If your RetractaShade is 2600mm wide and you allow 300mm from each end, the distance between the wire mounting points will be 2000mm.
Height Adjustment
When setting the height, it is recommended to create a slight slope (fall) across the sail to encourage water to drain in one direction during rain.
Step 2
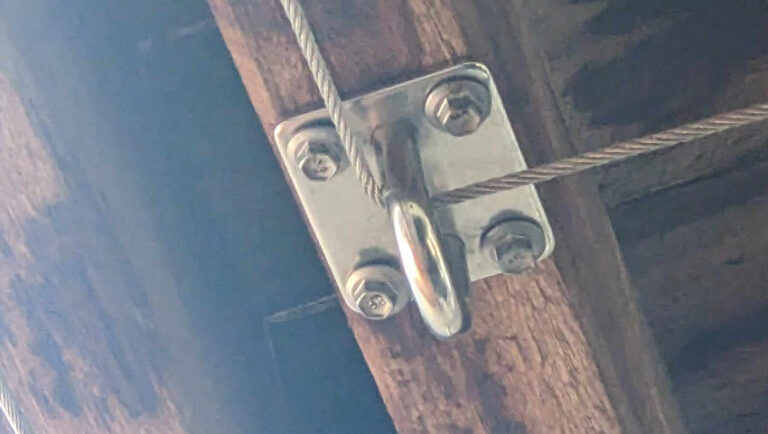
Install wire mount points
Install the wire mounting points with the recommended and desired hardware. please ensure your connections are strong enough to be able to tension a 3 or 4mm stainless steel wire.
Step 3
When You Receive Your RetractaShade – Install the Wire First
Tension the Wire
Thread the Wire
Pass the stainless steel wire through the wire mounting points.
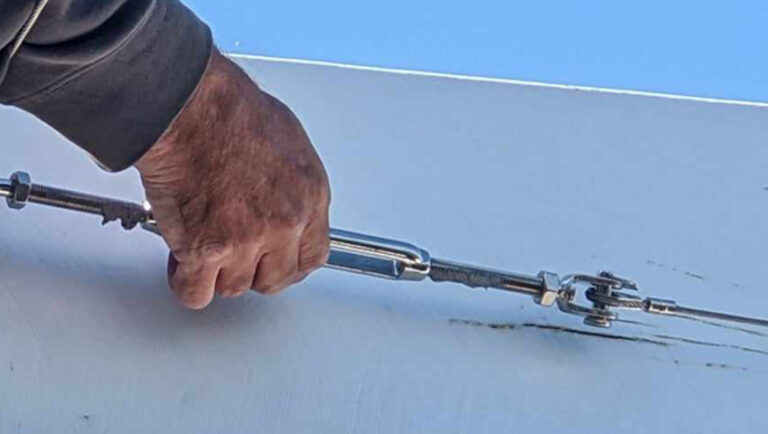
Attach the turnbuckle to each end of the wire on the ‘back short’ side of the structure, so the turnbuckle remains hidden when the sail is retracted.
Adjust & Secure the Wire
With the turnbuckle in its open position, adjust the free end of the wire and pull it as tight as you canc while you tighten the wire clamps securely.
Final Tensioning
Turn the turnbuckle to achieve maximum tension on the wire. Flick the wire to make sure it’s not slack and you can feel the tension resonate through the wire.
Step 4
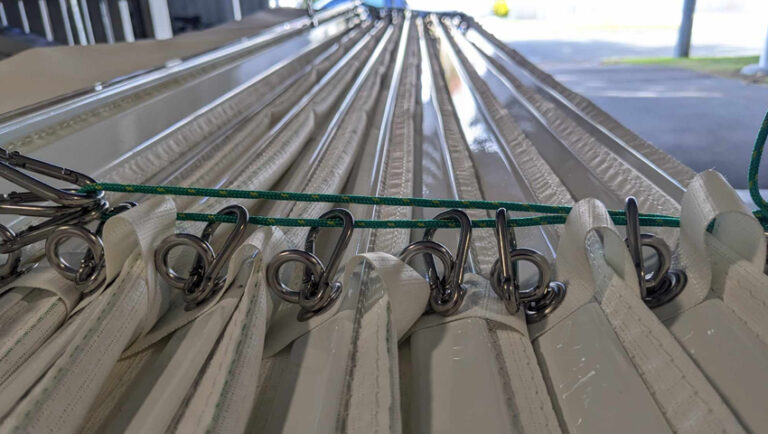
Take the RetractaShade sail from the package, undo the rope holding it together, and clip the shade onto the wire from back to front. The front panel has the retraction loop, the back does not.
Start by clipping the back clips onto the back wire, this holds it in place while you extend the sail. The panels will be held together within the package with rope to keep them together. Undo the rope and from back side to front, install each panel by clipping the snap hooks onto the wire.
Step 5
Grease the wire with a recommended lubricant (not included in kit – Silicone Lubricant, PTFE (Teflon) Spray, Marine, Grade Grease or White Lithium Grease). These products can by found online or your local hardware stores. Adding a lubricant will ensure a smooth slide out and retraction.
Step 6
Warranty Validation
Send a photo of your installed RetractaShade within 6 months of installation to validate your 5 year limited warranty.
Note: Creases from packaging will fall out over time. Please remember to send a photo of your installed RetractaShade retractable shade sail for warranty validation.